Getting Ready for the Bees, Day 3
Beehives come in many different styles, sizes, and shape. When I first became interested in keeping bees, I was allured by the Flow Hive. This hive was specially engineered to surrender capped honey with the turn of a lever – taking the work out of extracting honey and the risk of fighting a possessive colony.
But, my intent for keeping bees is to improve pollination in my garden. I plan to harvest honey, but that is not the main output. To improve pollination, I need a healthy colony that is easily observable for disease and growth. Because of this, I decided the Flow Hive wasn’t for me and went with a 10-frame Langstroth Hive. Invented in 1852, this basic hive is the most popular and widely used. Given its popularity, it has many commercially available parts and accessories available everywhere – making it easy to build, replace, and grow.
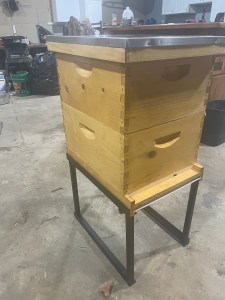
The benefits of this hive are that the parts are completely inter-changeable. Designed with the “right bee space” so the bees don’t glue parts together, making it easier to work with and care for the bees. Langstroth’s also make it easy to freely inspect and manipulate frames – making it really easy to inspect for disease, harvest wax, and extract honey.
The hive we bought is made of unfinished pine. Because it will be outdoors year-round, I must paint or stain it. Most beekeepers choose an exterior paint, but I think we have settled on staining and varnishing it for a more natural look.
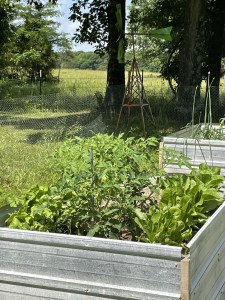
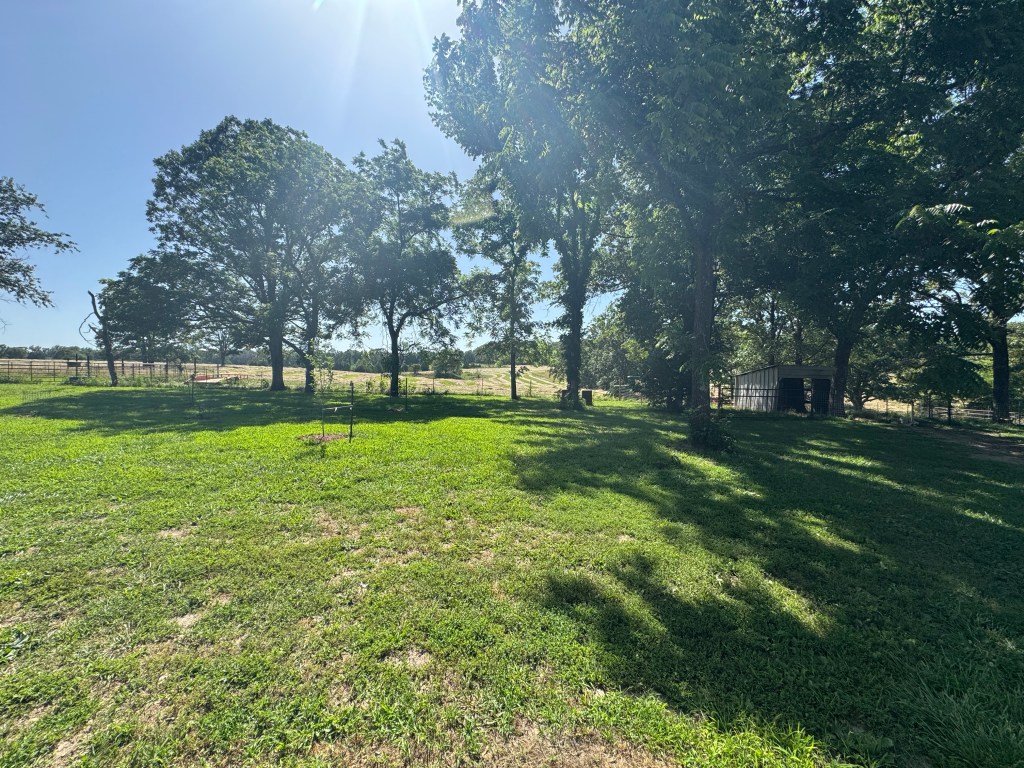
Once ready for the bees, the hive will live in the top corner of the garden where they will have easy access to food, water, and shade. The hive won’t need a great deal of space because the bees will happily travel a few miles to forage for what they need. But, they won’t need to travel far when the garden is producing.
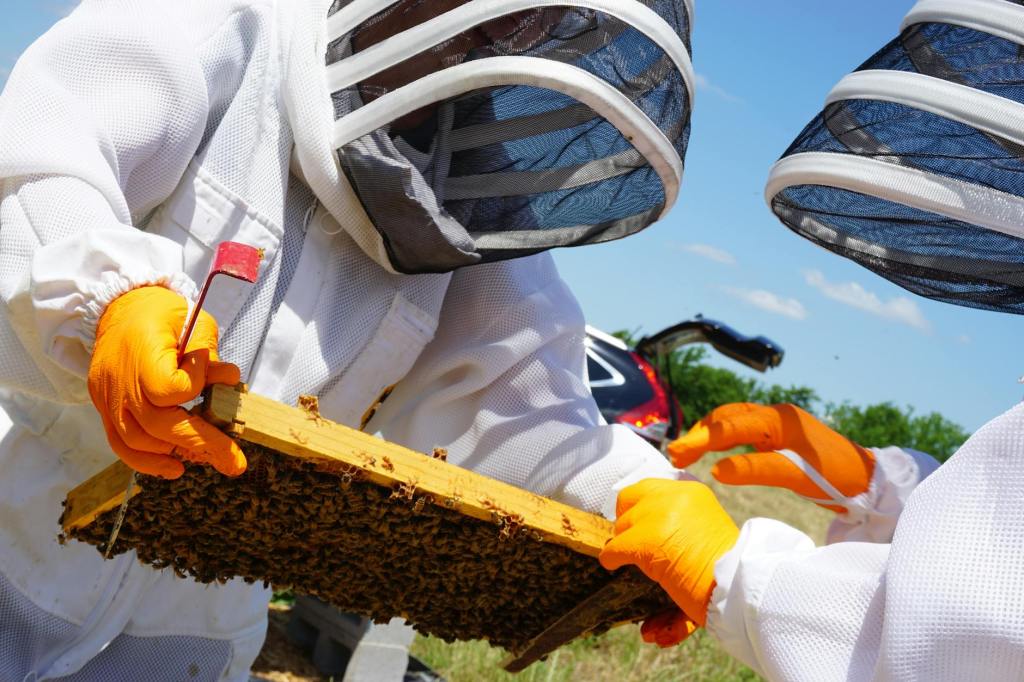
The bee season officially starts in the spring. Next step, finding the perfect outfit.


Leave a comment